Where movement joints go in a tiled floor and how wide to make them: perimeter, intermediate at 8 to 10 m, structural joints, UAE sun spacing and a layout.
A tiled floor needs a movement joint at its perimeter, over every structural joint in the slab beneath it, at every change of substrate, and across the field at intervals of around 8 to 10 metres internally and 3 to 4 metres where the floor is outdoors or under sun through glass. The joint is at least 6 mm wide for an internal floor, wider outside, and it runs through the tile, the adhesive and the screed down to the slab. It is filled with a prefabricated profile carrying a flexible insert or with a sealant over a backer rod. Leave the joints out and the floor shows you where they should have been.
Why does a tiled floor move?
Three things move a tiled floor, and all three are stronger in the UAE than in the climates the tiling standards were written for.
Thermal movement. The tile, the adhesive and the screed all expand as they warm and contract as they cool. A floor under a glazed shopfront can sit at 50 degrees in the afternoon and 22 degrees under the air conditioning at night, and the layers expand by different amounts.
Drying shrinkage. A sand and cement screed goes on shrinking for months as it dries. A screed tiled before it has done most of its shrinking drags the tile with it, and the stress shows at the weakest point, a tile edge or a bay that was not isolated.
Structural movement. The slab deflects under load, the building settles, and at an expansion joint two parts of the structure move independently. Nothing bonded across that joint survives.
Where must a movement joint go?
At the perimeter
Wherever the floor meets a wall, a column, a kerb, a door frame or fixed plant. The perimeter joint is usually hidden under the skirting and is the one most often omitted. A floor with no perimeter joint has nowhere to expand and tents along a line of tiles.
Over every structural joint
Wherever the slab has an expansion or construction joint designed to move, the tiling has a joint directly above it, as wide or wider, and nothing bridges it. Structural joints are on the structural drawings, not the finishes drawings; give them to the tiling contractor.
At every change of substrate
Where a screed meets a concrete upstand, a new slab meets an old one, a tiled floor runs onto a raised access floor or a steel plate, or buried services change the stiffness of the floor. Different materials move differently; the joint separates them.
Intermediate joints across the field
The bays between all of the above must themselves be small enough, which is the next section.
How far apart are intermediate joints?
BS 5385 gives the spacing most UAE specifications work to. For an internal floor in a conditioned building, intermediate joints divide the tiling into bays of around 8 to 10 metres in each direction, kept roughly square, because a long thin bay moves most along its length and concentrates the stress at the ends.
Externally the spacing comes down to 3 to 4 metres: the floor sees the full daily temperature swing, rain or washdown, and direct sun. The same 3 to 4 metre spacing applies internally wherever the floor is under glass in direct sun, which in the UAE means atria, mall entrances, hotel lobbies with full height glazing and any floor beside a curtain wall. Treat these strips as external for joint spacing even though the air conditioning says otherwise.

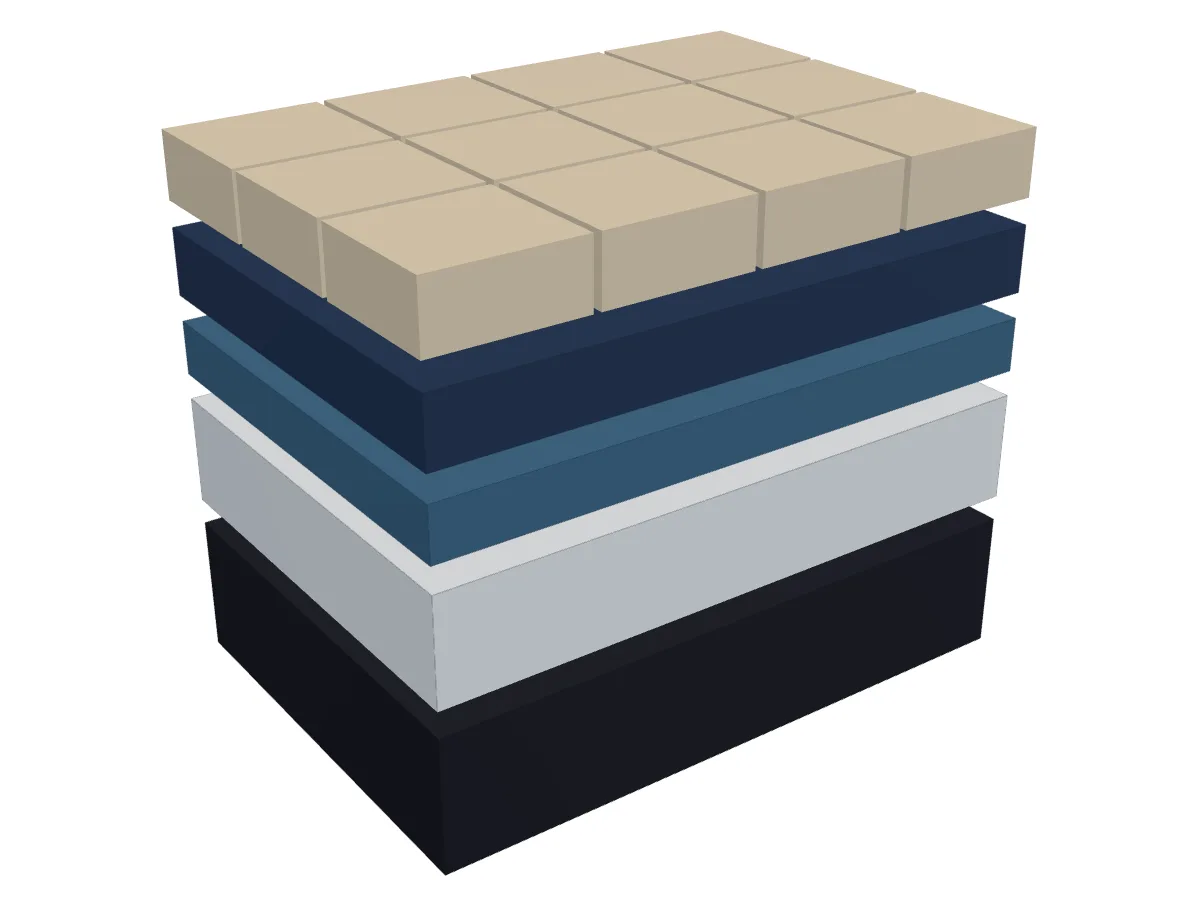
Tap the model to open the layers, drag to turn the section, and tap a layer to see how the joint is carried from the slab up through the screed, the adhesive and the tile.
How wide and how deep should the joint be?
Width is set by the movement the joint has to take and by what the filler can do, not by the grout line. A sealant or an elastomer insert absorbs movement as a percentage of its own width, so a 3 mm joint absorbs nothing useful. Six millimetres is the practical minimum for an intermediate joint in an internal floor. Perimeter joints are usually 6 to 10 mm. External joints and joints over structural movement are 10 mm and up.
Depth is the full build up. The gap runs from the tile surface through the adhesive and the screed to the slab, often 60 to 70 mm. The filler within it is shallower. For a sealant, a closed cell polyethylene backer rod sets the sealant depth at about half the joint width, so 6 mm deep in a 12 mm joint, and stops the sealant bonding to the bottom of the slot. For a prefabricated profile, the height matches the tile thickness and the flanks sit in the adhesive bed; below it the screed is cut or formed through and filled with a compressible strip.
Prefabricated profile or sealant on a backer rod?
Both work. The choice is about traffic, appearance and maintenance.
A prefabricated profile has two rigid flanks, aluminium, stainless steel or PVC, joined by a flexible elastomer insert. The flanks protect the tile arris from wheels and dropped goods, the insert takes the movement, and the line is straight with no tooling. The Profilpas Cerfix Projoint DIL range in the movement and stairnosing line runs from PVC profiles for light duty to aluminium and stainless steel flanked profiles for trafficked floors; Cerfix Projoint DIL NJ and Cerfix Projoint DIL NZS are two of the variants and each product page lists heights and insert colours.
A sealant joint is the gap filled with a gun applied or pourable elastomeric sealant over a backer rod. It is cheaper and is the natural choice at the perimeter under skirting and in wet areas. In the Mapei sealants and anchoring line, Mapeflex PU 45 FT is the polyurethane for floor and wall joints, Mapeflex PU 70 SL the self levelling polyurethane for horizontal floor joints, and Mapesil AC the silicone for perimeter joints in wet areas. In the Weber sealants line, weber Seal PS 1000 PG is a polysulphide pouring grade classified under ASTM C920 for horizontal joints, weber Seal PS 1000 GG the gun grade for vertical and perimeter work, and weber Jointseal PU 300 the polyurethane alternative. Sealant in a trafficked floor wears and is replaced on a maintenance cycle; a profile is not.
Why must the joint run through the adhesive and the screed?
A joint that is only in the tile layer is a decorative line. The model shows why. The screed shrinks and moves with temperature, and the adhesive moves with it and with the tile. If the adhesive is continuous under the joint, or the screed below it, the movement in the lower layers is carried straight across the gap and the tile either side cracks or debonds as though the joint were not there.
So the screed is formed in bays with the joint positions set out before it is laid, or saw cut through afterwards. The adhesive is stopped either side and cleaned out of the gap before it cures. The profile is bedded with its flanks under the tile and its insert exactly over the gap in the screed.
The adhesive also has to be deformable so the movement within each bay is absorbed in the bed rather than at the tile face. For porcelain on a screed in the UAE that means a C2 TE S1 adhesive such as Keraflex Maxi S1 Zero, stepping up to the C2 E S2 class with Ultralite S2 Flex for large slabs and floors under glass; both carry their classes under ISO 13007-1, the twin of EN 12004. The joints between tiles within a bay take a CG2 grout such as Ultracolor Plus; grout does not replace the movement joints.
How do you lay out the joints on a 30 by 18 m retail floor?
Take a retail unit 30 m long by 18 m wide, tiled in 600 by 600 porcelain on a sand and cement screed over a suspended slab, with the long side fully glazed to a mall concourse and no structural joint within the unit.
Step 1. Perimeter: 2 × (30 + 18) = 96 linear metres, 8 mm wide, under the skirting, sealant over a backer rod.
Step 2. Along the 30 m side: three bays, 30 ÷ 3 = 10 m, at the limit of the 8 to 10 m rule. Two intermediate joints run the 18 m width: 2 × 18 = 36 m.
Step 3. Across the 18 m side: two bays, 18 ÷ 2 = 9 m. One joint runs the 30 m length: 30 m.
Step 4. Check: six bays of 10 by 9 m, 90 m2 each, roughly square. Intermediate profile so far 36 + 30 = 66 m.
Step 5. The glazed side. The 4 m strip along the glass sits in direct sun and is treated as external, with bays of no more than 4 m. Add a joint 4 m in from the glass running the full 30 m, and cross joints at 4 m centres: at 4, 8, 12, 16, 20, 24 and 28 m. The one at 20 m already exists from step 2, so six new cross joints of 4 m are added: 6 × 4 = 24 m. Additional profile 30 + 24 = 54 m.
Step 6. Totals. Prefabricated profile with a 10 mm insert: 66 + 54 = 120 m, in the stock lengths on the product page. Perimeter sealant at 8 mm wide by 6 mm deep: 0.008 × 0.006 × 96 = 0.0046 m3, which is 4.6 litres; with 10 per cent for tooling and waste, 5.1 litres, plus 96 m of backer rod, divided by the pack size on the sealant product page.
Step 7. Set out. Put the joint lines on the setting out drawing before the screed is laid, and adjust the tile module so joints fall on tile lines, not through tiles.
What goes in the specification and who fits them
The tiling specification states the joint positions on a drawing, the joint width, the filler for each joint type, the profile model and height, the adhesive class and the requirement that the joint is carried through the screed and the adhesive. Where the project wants one point of responsibility, application is by our sister company Sixty Newton Technical Services LLC, which sets out and fits movement joints as part of the tiling package; where the tiling contractor is appointed we supply the profiles, sealants and adhesives from the Profilpas and Mapei ranges with the technical support. Trade pricing and credit accounts open through the trade account route, and the tile adhesive supplier page lists the adhesive and grout systems either side of the joints.
What to send us: the floor plan with dimensions, the tile size and thickness, the glazed or external edges and, where there is one, the BOQ. Send it on WhatsApp to the Dubai desk and the quote comes back with the profile schedule, the sealant quantities and the data sheets attached.
Questions this guide answers
How far apart should movement joints be in a tiled floor?
Internally, intermediate joints divide the floor into bays of around 8 to 10 metres in each direction, kept roughly square. Externally, and internally where the floor sits under glazing in direct sun, the bays come down to 3 to 4 metres. Every structural joint in the slab and every change of substrate also needs a joint directly above it.
How wide should a tile movement joint be?
Six millimetres is the practical minimum for an internal floor so the filler can actually deform; perimeter joints are usually 6 to 10 mm and external joints 10 mm or more. A sealant filled joint is then given a depth of about half its width over a backer rod, and a prefabricated profile is chosen with an insert matched to that width.
Can the grout line act as a movement joint?
No. Cementitious grout is rigid and bonds to both tile edges, so it cracks or spalls the tile arris rather than absorbing movement. Even a flexible grout does not run through the adhesive and the screed. A movement joint is a separate detail: a profile with an elastomer insert or a sealant on a backer rod, carried through the full depth.
Do movement joints have to go through the screed?
Yes. The screed and the adhesive move with the tile and shrink as they dry, so a joint that stops at the tile surface is bridged from below and does nothing. The screed is cut or formed through, the adhesive bed is stopped either side of the joint, and the profile or sealant sits in a continuous gap down to the slab.
Profile or sealant: which is better for a shop floor?
A prefabricated profile with aluminium or stainless steel flanks protects the tile edges from trolley wheels and gives a clean straight line that needs no maintenance, so it suits a retail or mall floor. Sealant on a backer rod is cheaper and suits perimeters under skirting and wet areas, but it wears under wheels and needs periodic replacement.